


05 Jun 10. SunNet Pro – How to Input a Count Down
How Can We Help?
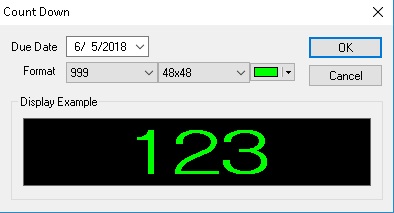
10.1 Click “insert” -> “Count Down”. Press the down arrow button next to the date area. Choose your desire date to count down to, also known as the due date. Next, choose the display format. First, you will choose the character look. Next, is to choose the size of the characters. Finally, choose your color for the Count Down. After completing those steps, press the “OK” button to input the message into the Content Area section.
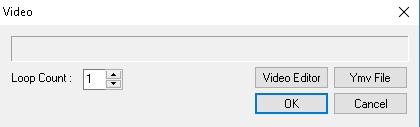
10.1 Click “Insert”->”Movie” or on tool bar. ![]() The window below will be displayed.
The window below will be displayed.
10.2 Click “Video Editor”. This is video editor’s main window.
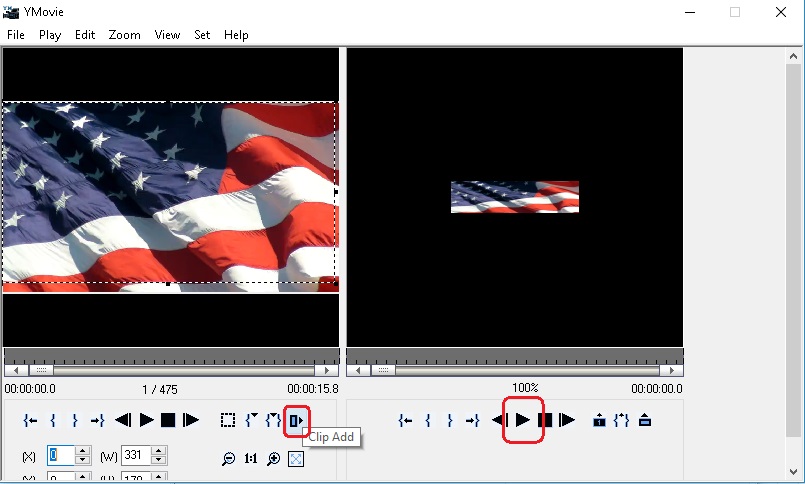
– Click “Set” -> “Export format” and set screen size of signboard.
– Click “File”->”Import” to open source file (video file). Left window is for source file and right window is for clipped/captured video.
– White line box shows the area of capturing area from source file. You drag the points to adjust section of the video you wish to capture. (Preview will be shown on right window)
–![]() Click add clip button in order to start capture.
Click add clip button in order to start capture.
– ![]() Click on Play button on right window to see what you captured/clipped video.
Click on Play button on right window to see what you captured/clipped video.
– Click “File”->”Export” to save the captured file. And exit the video editor.
10.3 – Select “YMV File” and choose the video file (YMV file) you saved. “Loop count” can be set here.
10.4 Source and captured file can be edited by video editor.